I plan on using this thread to document how this whole journey goes for me and possibly help others to learn from the inevitable mistakes I make.
Background: I am male and polyamorous with three current female partners (feel free to ask about this, too, if you want). I currently fully Brazilian wax two partners and do all but landing strip on the third, as well as one’s underarms. They also wax/pluck groin hairs for me. It takes a long time, must be repeated regularly, and though it causes less ingrown hairs than shaving, is still a problem. So, I looked into permanent hair removal methods and landed on electrolysis. While I am at it, I will probably take care of some stray eyebrow hairs and any beard hairs of mine that are not in the area I would ever want beard (neck and cheeks) as well as a few shoulder/back hairs and the ladies might want to go with their legs. This is a lot to do, so we are starting with groins.
Blend Method: I am a research scientist for NASA by trade, so I do TONS of looking into things before making a decision like this. This forum has been particularly helpful. The Blend methods appears to be the best choice for DIY home electrolysis. If you want to get things done in any reasonable amount of time your choices seem to be multi-probe galvanic, blend, manual thermolysis, or flash thermolysis. If you are doing manual thermolysis you may as well just add DC current to make it more effective, thus the blend method. Both multiprobe galvanic and flash thermolysis require much more expensive machines, and flash seems to have a much higher risk associated with potential overtreatment, particularly for inexperienced people and those doing it on themselves. Great, so we have a methodology, now it is time to find a machine.
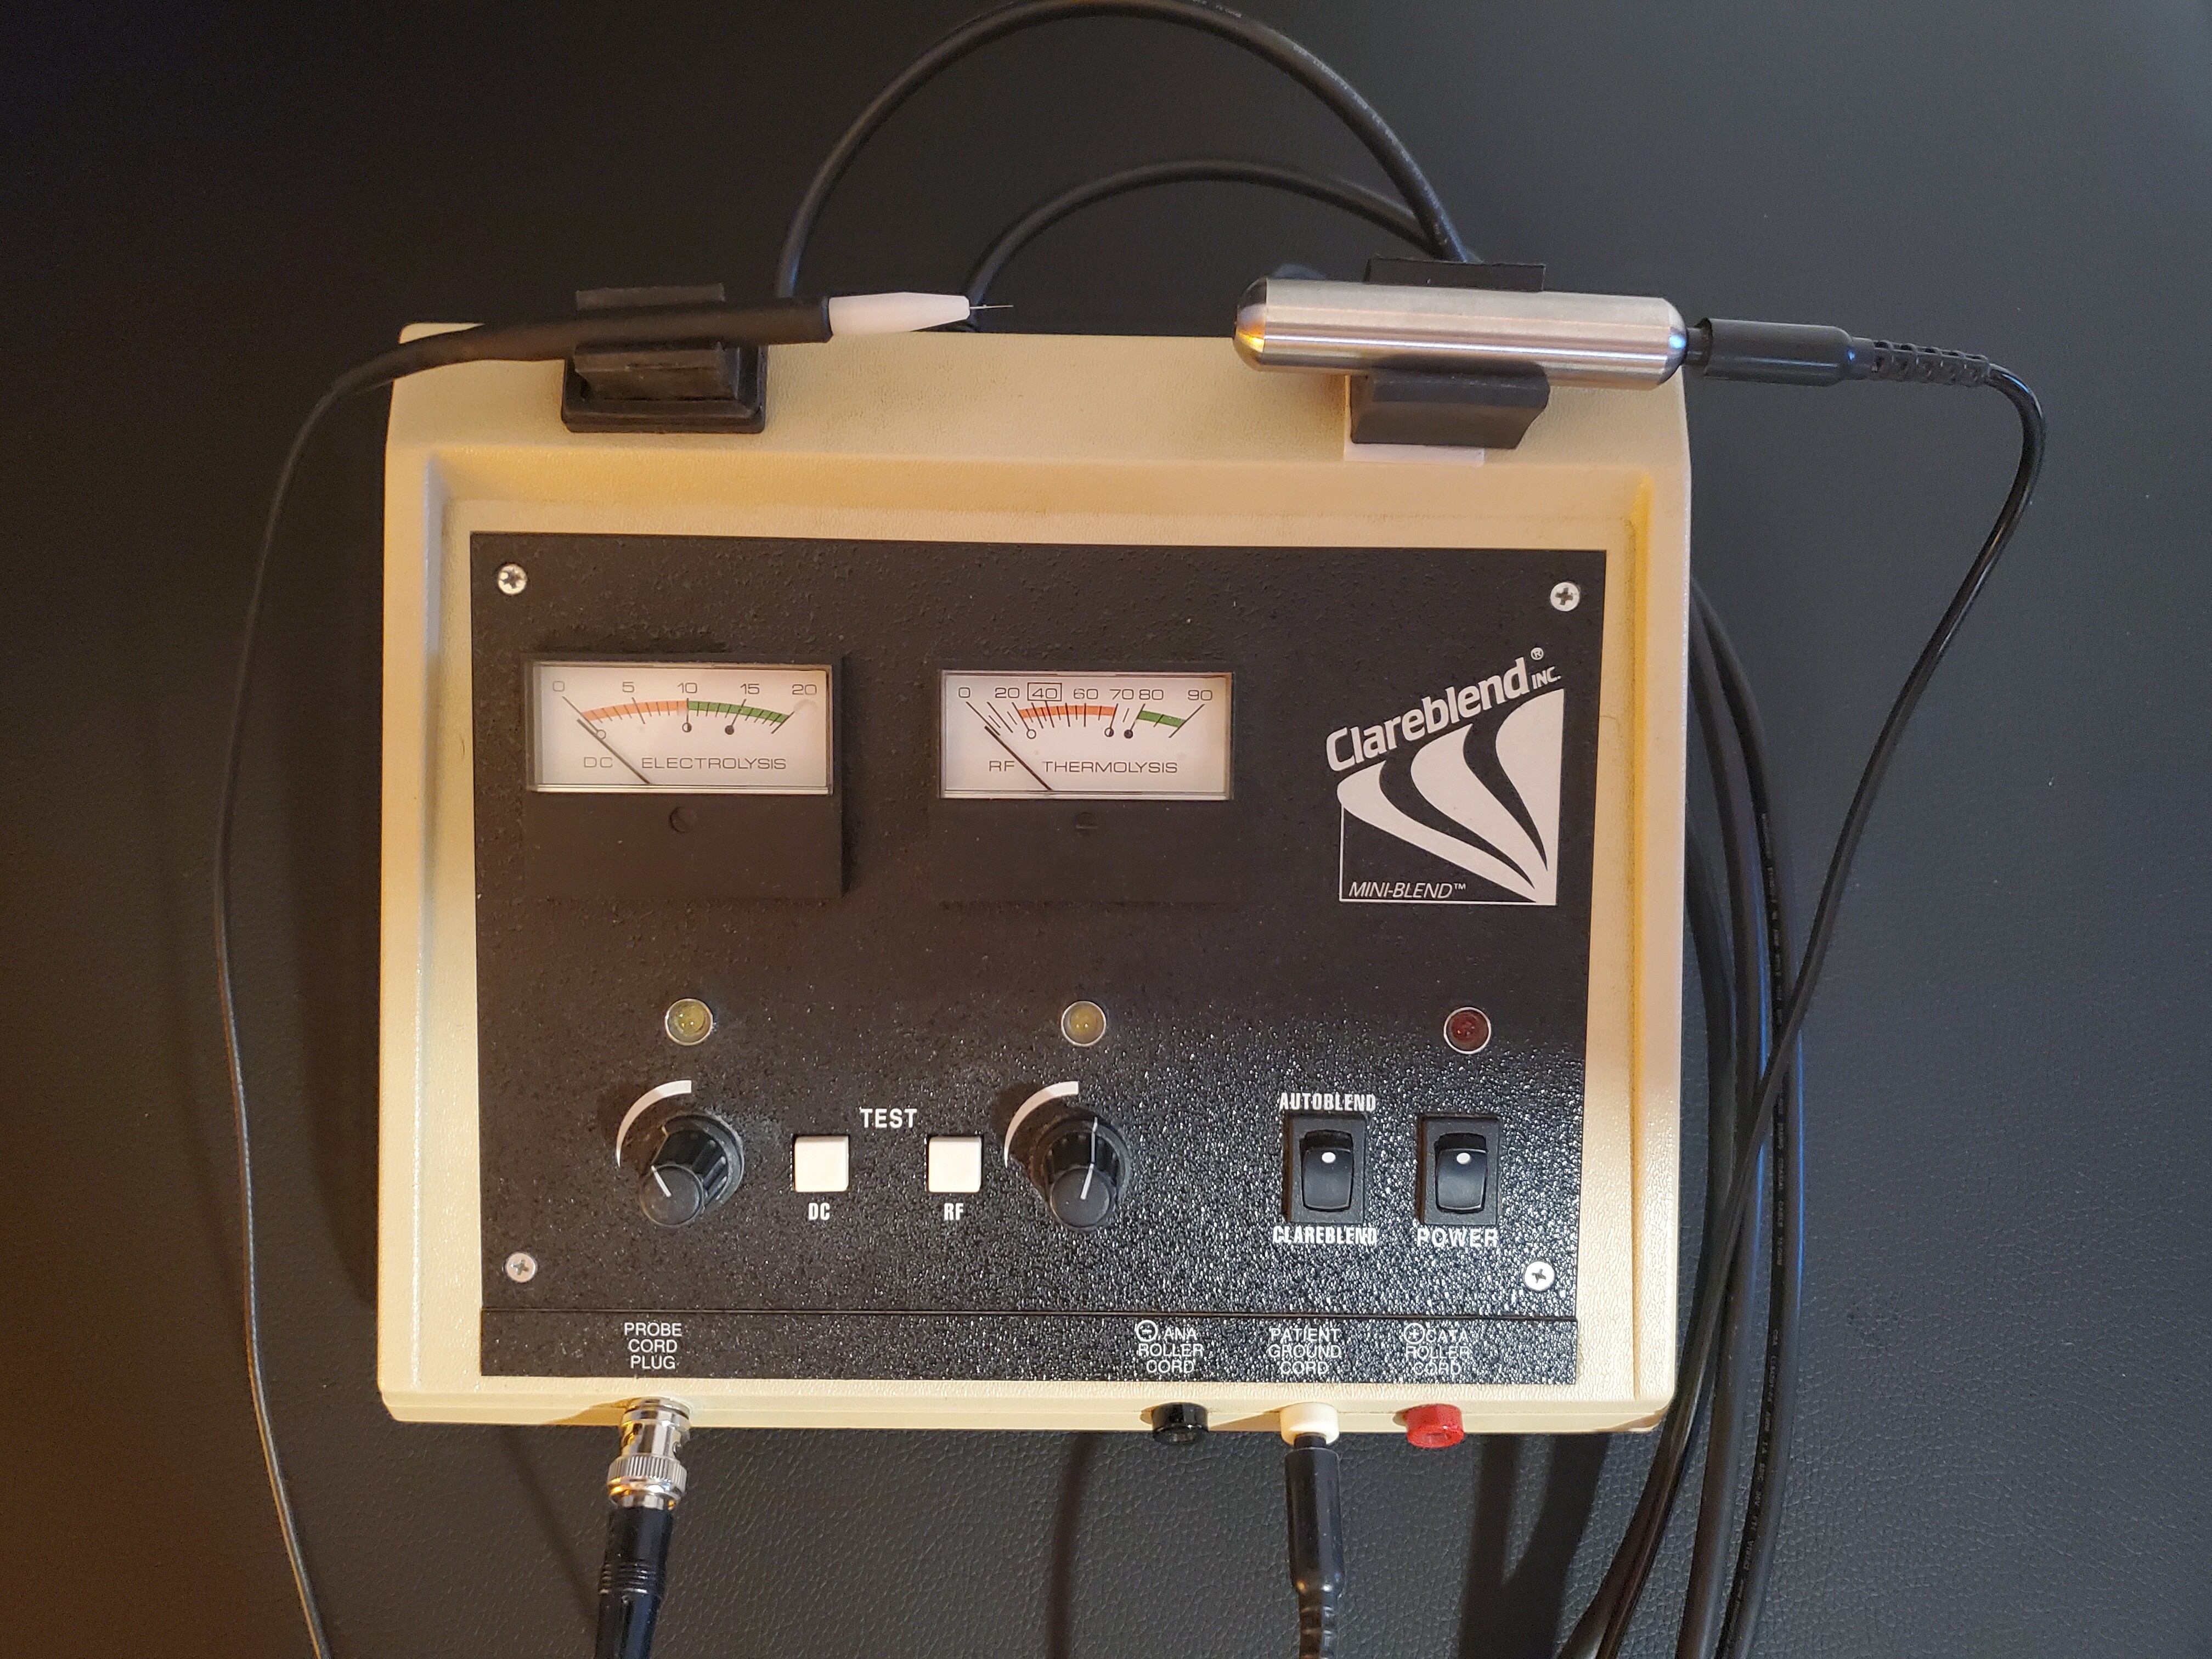
The Machine: For buying an effective machine you appear to be limited to Ebay (or the equivalent in your area/country) and Texas Electrolysis Supply. Places like Amazon tend to be inundated with scam-level machines and most dedicated retailers of electrolysis machines will not sell to unlicensed people (even though in Virginia where I am there is no licensing for electrologists). I tried the Ebay route but everything listed was extremely pricey for machines that were not guaranteed to work. It took about a month to finally decide to go with TES. Their website is not terribly professional, but I get the feeling the whole place is a two-person operation with one person answering the phones and the owner refurbishing machines and handling sales of the devices themselves. All the refurbished machines are checked to work and have brand new cables/attachments. When you call up you will be forwarded to the owner who will go over all the listings he has and discuss their relative merits and costs. I would expect to pay between $800 and $1200 for a good Blend machine. I went with the Clareblend Mini-Blend for $1000 and am quite happy with it. It has all the base features I would want and few to no bells and whistles, keeping the price down.
The Needles: OK, so I have the machine, but now I need needles to go with it. Michael Bono, who seems to be the high priest of the religion of Blend (he is a strong believer and supporter of it and has literally written the book on the subject) makes a compelling case for tapered needles. The benefits tend to be that they effectively have a built-in safety feature. As the needle gradually gets wider, it results in reduction of RF energy released in that segment, meaning the surface of the skin is protected even more than it normally would be. Sounds good to me. The only people I can find currently making them are Ballet and the only place I could find to buy them is also TES (where I got the machine, above). So, I bought a pack of TB Small and TB Medium. The medium seems right for beard hairs and thicker pubic hairs, while the small is right for the thinner pubic hairs and some of the other places I am looking to get. They come in packs of 50 each, which should be more than enough for quite some time. Note that these needles are K-shank. The machine normally comes with an F-shank needle holder, so I had to mention this at the time of purchase and the owner sent it with a K-shank holder instead.
Literature: If you are doing the Blend, there seems to be two books everyone recommends. The first is The Blend Method The Illustrated Manual of the Blend Method of Electrolysis by Michael Bono. GET THIS. It is $45 from TES, which seems to be the only real seller. Anywhere else seems to be overpriced reprints. Do not get this confused with the similarly named free pdf intro he puts out. I suggest the full “book” (really spiral bound manual). It is a fantastic explanation and is written to the level of a lay person. Perfect for DIYers. The second is Electrolysis, Thermolysis and the Blend: The Principles and Practice of Permanent Hair Removal by Hinkel & Lind. This is the text book people learn from when going to school for this. It is priced like a text book, so get it used off of Ebay. I paid $30.
Table: I currently have about two hours of actual hair removal logged now. I started by having the patient lay on the bed while I was on a stool, hunched over. SCREW THAT. My back killed me. If you are going to do body work, you really want something the person can lay on that will not overtax you. Amazon sells cheap massage tables that are perfect for this. A big benefit is that your legs can slide underneath the table, meaning you can get up close much easier. I got the “Yaheetech Massage Table Portable Massage Bed Massage Therapy Table Spa Bed 84 Inch Adjustable 2 Fold Salon Bed Face Cradle Bed Black” for $144. This is probably not good enough for someone professionally doing either massage or electrolysis, but great for DIY.
Tweezers: I thought I had really good tweezers. I was wrong. When you start getting in there you need an absolutely tiny tip to access the hair after having inserted the needle (which is apparently the order you want to do it in). I ended up buying surgical tweezers and that worked out really well. They have some unexpected benefits, too. I have spent a good quarter of my time so far fixing ingrown hairs and these are the perfect tool for that. Also, they cannot give much pull strength which turns out to be a benefit when doing progressive epilation. The hair comes out easily or these tweezers will not get it out at all. I got “Surgical Tweezers for Ingrown Hair - Precision Sharp Needle Nose Pointed Tweezers for Splinters, Ticks & Glass Removal - Best for Eyebrow Hair, Facial Hair Removal(1 pack pointed, black)” from Amazon for $10.
I think it is helpful to have these product links here, and I will come back and edit this post if I find that there is a better tool for the job as I figure this out.
Magnification: Your eyes are not good enough to do this on their own, so you need a loupe or something similar. There are professional items that sell for quite a bit, but we are DIYers and do not want to spend too much. If you are working on yourself, you need a mirror, preferably a magnifying mirror, even more preferably a lighted magnifying mirror. The problem is that the more it magnifies, the closer the focal distance, meaning the more up-in-your-face you need to be. My research suggests around 2.5x is ideal. These are not easy to find and I just couldn’t locate a lighted magnifying mirror around this level. All the ones I saw were much higher magnification. So, I landed on the following two products: “Headband Magnifier LED Illuminated Head Magnifying Glasses 1.0X/1.5X/2.0X/2.5X/3.5X” for $16.50 and “Schliersee Magnifying Vanity Table Mirror Double Sided 7 Inch Swivel 3X Magnification Makeup Standing Mirror” for $16.
So far the the headband is working out pretty well. It is unfortunate that the bridge of the nose rest gets a bit in the way of glasses if you wear them, but not terribly so. The light is just right and so is the magnification level. I have not used the mirror yet and will review it when I do. I figure it is a bit easier learning the skills without having to deal with reversed mirror image at the same time.
Numbing and aftercare: I already had Uber Numb for waxing and it helps a ton. Put it on at least a half hour ahead, but preferably a full hour before. $30 for 4 ounces.
I use these magnifiers all the time in my clinic, and actually, need to order a spare so will be doing so this week. They give a strong magnification, are a durable glass lens and the LED lighting system makes for descent lighting.
The table is good enough, if you were doing professional work it would become limiting quickly but it will suffice for some DIY. It’s important to be able to get your legs under so you can get close enough to the person being treated.
I wouldnt have started with a tapered probe. For learning and DIY, a non-tapered probe will do just fine. And F-shank are commonly available , even to an amatuer, through places like TES.I would honestly see about getting an additional needle cord for that machine that does have f-shank , with a bnc connector this should not be difficult theres a few choices , instantron needle holders for example are identical. Theres no reason to get fancy either when it comes to probes. Stainless or gold one piece f-shank probes are just fine for doing bikini work in blend.
Some electrologists dont recommend DC currents for genital work, especially if there is any possibility of pregnancy because of the unknown effect of DC current on the fetus… This I would think something to keep in mind if in a polyamorous relationship. Also people are able to tolerate some currents in the bikini area and not others, for some its all thermolysis out of choice. As a DIY’er, know that thermolysis requires a high degree of accuracy to be effective that moost DIY’ers lack. So your choice of currents for this area might not be as cut and dried as you think.Learn Learn Learn and learn some more.
Tapered needles are, indeed, wonderful. Problem is … they are no longer manufactured. The Ballet tapered don’t work properly. The “blade” is too long and, expect for insanely deep hairs, the taper does not fit into the follicle. Furthermore, the tips of the Ballet tapered are a disaster. Take a look at the tips under magnification: they are basically chopped-off. Thus you will have a “rough” insertion. Probably the standard Ballet will work best for you. I still have a supply of original tapered needles (I bought out entire supplies.) I have spoken to Ballet, in the past, about making proper tapered needles. They don’t care … They dominate the electrolysis market and see no need to improve their products.
The visors are not as good as some other products, but I am really surprised by how well they function. I find the range of magnification works well while maintaining a decent distance The floor magnifier is getting on into more professional territory, but if I find I have problems with the visor I will consider it.
I agree exactly on the table. I was quite happy with it, but realize it probably isn’t sturdy enough for a professional who might have some heavier clients, nor would it stand up to daily professional use. The ability to get my legs under it was one of the big selling point. The support structure doesn’t really get in the way much.
Potential fetuses are not a problem for me and so far, there hasn’t been a noticeable increase in discomfort from using straight manual thermolysis (to find the right setting) and adding DC, but I will keep that in mind.
The results so far have been pretty good, even if I haven’t done much and can’t speak to duration of marks or whether I have killed the hairs. Time will tell on that.
Thanks for the information. I had noticed I had a bit of trouble with practice insertions and testing the machine when using my arm, but had chalked that up to just learning. Once I got to the bikini area it went much smoother. I will consider changing needles, but unless the basic needles are really superior I will probably stick with what I have since I have quite a few.
The table is more an issue of ergonomics. having the right positioning often calls for a hydraulic table that can be raised or lowered, but doing DIY it wont be as easily done, but can still be accomplished.Like I said it will do.
My issue with the visers was they didnt magnify enough and the working distance wasnt ideal.
The tweezers you’ll lik the ponted tips and the ease of use, they have a very light touch which makes it easy to grasp hairs with minimal effort.
Damn, it looks like there is an editing window or I would use the first couple posts to note the current best items of each type per recommendations and experience. Oh well.
I looked at the tweezers and they appear to be a more professional version of what I have. If mine ever get out of whack I will try the ones you recommend, but I suspect they will do fine for my purposes, and are less than a third the price.
The table is adjustable in height, you just have to get the patient to get off of it to do so. Not acceptable in a professional setting, buy perfectly fine for home use.
TE is one of the best places to get answers and machines. Dr Heimlich has incredible knowledge of anything Electrology with over 40 plus years in the business. I personally like ST peel machines more costly but worth it in client comfort and ease of use. First you will need magnification glasses or loupes, two lights to see well and provide depth preception and adjustable table and stool. Alcohol or green soap to disinfect the skin, different types of tweezers and different types and sizes of needles, follicle finder and a&d ointment. Different tweezers for different types of hair and never put tweezer tip down in the sanitizer. Different needles because of different size hair and people react different to needles. The A&D helps needle insertion. I use different methods because everyone reacts differently and sometimes blend is better or term may be best. Also clients hydration level and time of month can effect pain level and low hydration can extend treatment time. Using anaphoresis and cataphoresis to treat skin before and after treatment can help promote treatment success.
Update: There was some initial trouble getting the machine working. The BNC connector that attached to the probe wire on the machine was free to spin which broke the wire connecting to it inside the machine. I am sure it worked fine when TES tested it before sending it to me, but broke while I was setting it up. They offered to cover shipping back and forth and handle the repair for free, but I opted to do the easy solder job myself. Looking at the inside this seems like it would be a common problem to watch out for with these machines.
I went through all the testing of the machine procedures in Bono’s manual and found it very helpful for getting familiar with the machine itself. It also confirmed that the machines marks for Face Technic settings matched with what I came up with using Bono’s techniques. I then proceeded to do two girlfriends’ bikini lines. It took a bit to build confidence and competence on insertions but the learning curve was steep and it was a very short period before I felt I was nailing angle and depth. Red marks showed up within a day or so and disappeared within a week. I spent half my time cleaning up the constant ingrown hairs that come from shaving and waxing before. The tweezers I bought proved excellent. The magnifying glasses were a bit of a pain with glasses so I relented and bought a lighted table clamp magnifier. I haven’t used it yet, and will let people know how it goes when I do.
I also did my own cheeks. There is a bunch of scattered hair above the beard line that I generally have a partner pluck out, so I zapped most of it. This was a bit odd in that I was not able to use the standard progressive blend method as working in a mirror made it to difficult to have a second hand pulling hair while the first was holding the probe. I was forced to zap for a bit, test the hair, then zap some, then test the hair. After a bit of experience I could tell which hairs were going to take how long with decent accuracy. I was surprised with how high the settings were though! I was at 70 volts (max face technic HF) for a full 20 seconds, or even longer on occasion. I suspect this is for a few reasons. 1) These are long hairs with far more needle depth than when I did bikini line. Observing the hairs after plucking tells me I am getting the insertion depth just right. 2) “Manly” unpampered, fairly dry skin. I don’t think the skin is conducting diddly squat, meaning I have to use a lot more juice. This is supported by the little to no foaming coming out of the pore, suggesting very little lye formation. I turned up the DC to 5 tenths, a bit higher than recommended for this amount of time and I will see some tiny bits of foam, though not on every hair.
So, are these settings reasonable? Should I concentrate on moisturizing the skin more? I seem to be getting decent results in that I will eventually get a clean release of the hair and I do not think I am overtreating. I will have red spots that maximize after two days and have completely vanished by 4 days. That seems in line with what I should expect.
Could you explain a little on how the A&D helps with needle insertion? I’m a beginner just trying to learn more by reading the books and the forum posts so I’m having trouble understanding in what way this works.